
The Art of Baking Bread With Children

Yeast and gluten are magical. When working with a piece of dough, it feels alive.
You knead it, stretch it, tuck it in bed, punch it, pat it, fold it, dust it, roll it, or braid it. And then when it's time to bake, you wait with a delicious anticipation. Your house fills with a glorious, wholesome smell. You can't stand it any longer, and you open the oven to find the metamorphosis that has happened to your dough.
Now is the time to revel in the fact that you have made this beautiful, crispy loaf of BREAD. Most recipes will strangely caution you against this, but I recommend that you cut into it right away, as the steam is escaping. Spread a little butter on it, watch it melt, and it is heavenly.
What You Need
2 cups whole wheat flour (+ more for later)
2 tbsp sugar
1 tbsp salt
1 pkg yeast
2 ½ cups lukewarm water
¼ cup softened butter or oil
What You Do
Mix flour, sugar, and salt.
Add your yeast to the lukewarm water and mix. "Proof" it by adding a little sugar or honey to it. Wait a few minutes to see if it starts to bubble. If it does, you're good to go. If it doesn't, your bread will not rise. I admit I often skip the proofing step because I have found the packaged yeast to be pretty reliable.
Use your stand mixer with a dough hook or a wooden spoon to mix the wet and dry together and make a very smooth batter.
Add flour 1/2 cup at a time, stirring it in and then adding more. Your batter will get thicker and thicker. Once the dough starts to clear the sides of the bowl, you can probably start kneading it with your well floured hands. I like to use a very large, shallow bowl so I can knead it right in the bowl. Otherwise, dump some flour onto a cutting board and start kneading the dough, folding it over and pressing, adding more and more flour until the dough is not-so-sticky. You want to be able to pinch the dough and see it hold its shape, feeling somewhat like an earlobe. I am not going to tell you how much flour to add because it depends on the humidity, on the type of flour you use, etc. I never measure beyond the initial ingredients.
Put a little oil in your hands and pat the dough ball all around.
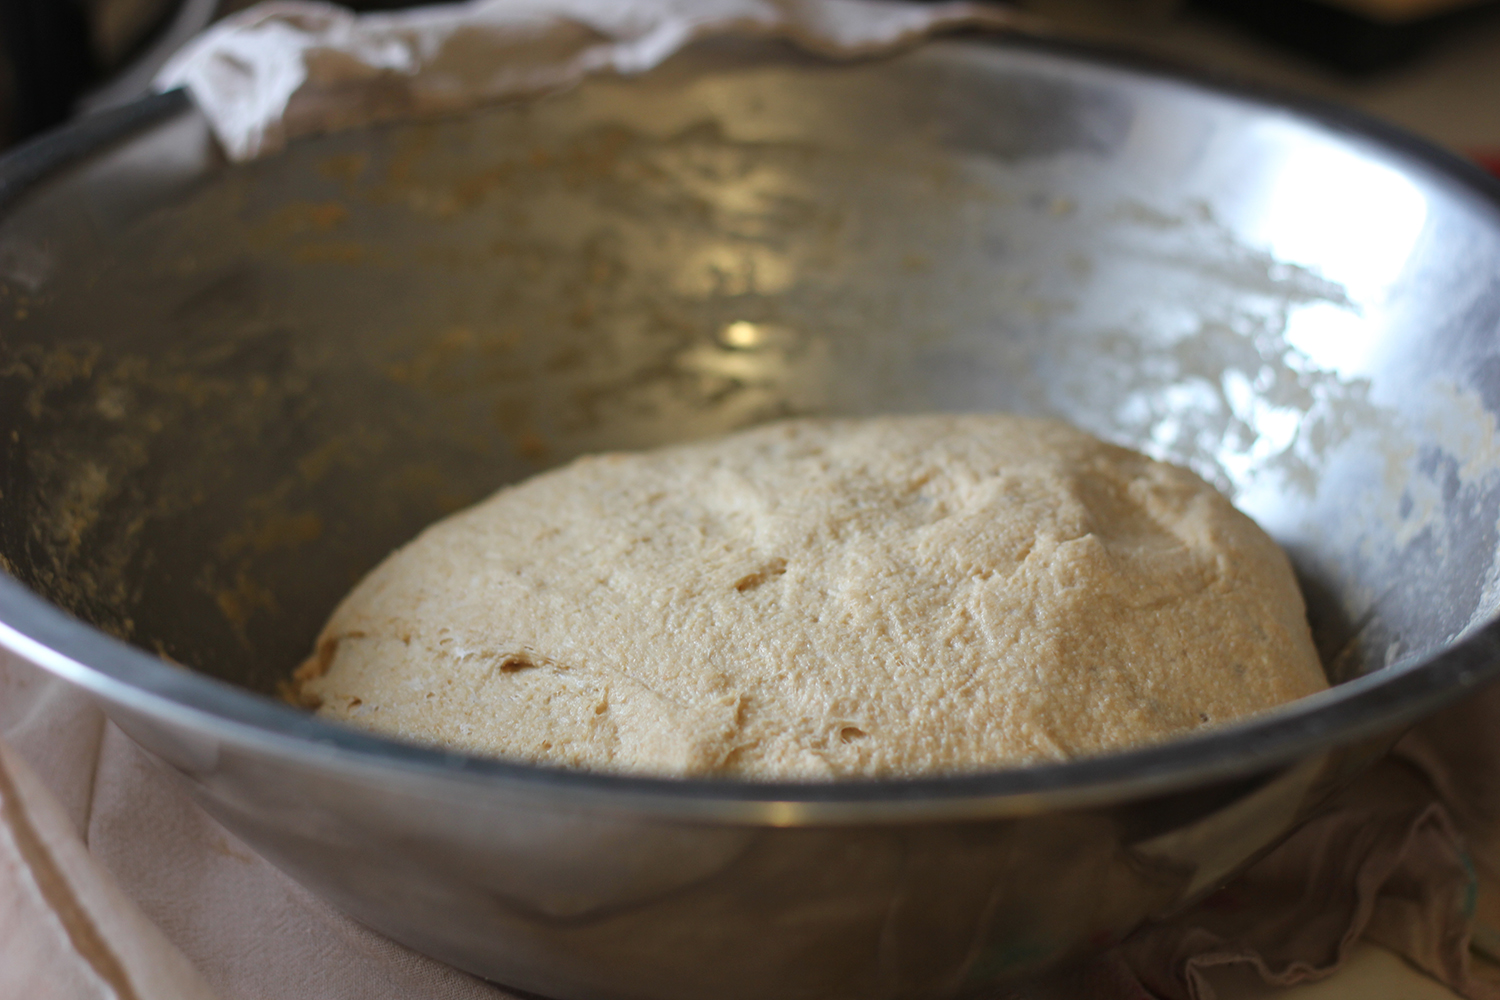
Let it rise for an hour. I like to put my dough back in the bowl and over it with a moist dishcloth.
Punch it down. The children love this! Ball up your fist and punch-punch-punch as many times as you like.
Let it rise again for another hour or so.
Punch it again. Cut the dough in half with a sharp knife. Flatten one half on a floured cutting board. Sprinkle chocolate chips right onto the dough - as many as you like! You could also do raisins, nuts, or cinnamon.
Roll the dough up into a log, pinch the edges closed, and then gently shape the loaf. Do the same to the other half of dough. Use a cookie cutter to stamp a shape onto the top.
Place into a well greased bread loaf pan, onto a baking sheet, or on a cast iron skillet.
Let them rise again, about 20 minutes.
Bake at 400 degrees for 45 minutes or until the top is crispy, brown, and hollow sounding.
Serve immediately and enjoy the gooey chocolate!
Does it sound like this recipe takes FOREVER? Like ALL DAY? Well, it kind of does. When you really take a look at your hands-on time, it's really more like maybe 30 minutes. The bulk of time is spent rising, which it can do happily without you. Dough is flexible, too. If you need to go out, go out. If you need to stick it in the fridge to rise, stick it in the fridge. You can even shorten the rising time by half, but your gluten will be less developed and your dough will be more cakey and less stretchy.
The point is, you really can't go wrong here, even if you end up with whole wheat chocolate chip bread sticks (yum!) or whole wheat chocolate chip rolls (yum!) or whole wheat chocolate chip crackers (probably yum!). Give it a try and see how it turns out. As long as it isn't burned, and you have used the basic ingredients, it will likely be tasty!

I've tried a lot of different whole wheat bread recipes, but this one is one of my favorites, and it's so easy anyone can do it. Children are always amazed at the tranformations during the different stages, and it is easy to build off on if you are more experienced with baking. A tip: embrace the long process. Good bread takes time, and helping children to develop cognitive control, which includes delayed gratification, is something worth slowing down for.
Involving Babies
Wash hands.
Smell and taste the ingredients as appropriate.
Play with a wooden spoon.
Watch the process.
Involving Toddlers
Smell and taste and touch ingredients as appropriate.
Dump yeast into lukewarm water.
Watch yeast-water mix for bubbling.
Dump dry ingredients into bowl.
Stir dry ingredients (with assistance).
Mash kneaded dough.
Punch dough down
Involving Preschoolers
Smell and taste and touch ingredients as appropriatae.
Mix yeast/water/sugar together.
Observe bubbling.
Measure ingredients.
Stir dry mixture.
Pour wet mix into the dry mix.
Stir the new, sticky dough until too difficult.
Add flour a little at a time.
Knead dough (assisted).
Pat dough with oil.
Put dough somewhere warm to rise.
Check dough as it rises.
Punch dough down.
Knead dough after it has risen.
Put dough into a bread pan.
Observe dough cooking through the oven window.
Serve the warm, sliced bread.
So if you've never baked bread before with children and no one in your family is allergic to the ingredients, now is the time! Go bake a magic loaf and enjoy!